Creating An Animal Unit Study For Your Homeschool: A Step By Step Guide
Have you ever thought about using art to lure your kids into meaningful learning across subjects? Art enticed my boys into happily agreeing to write an informational essay on animals. This led to an entire unit study in our homeschool.
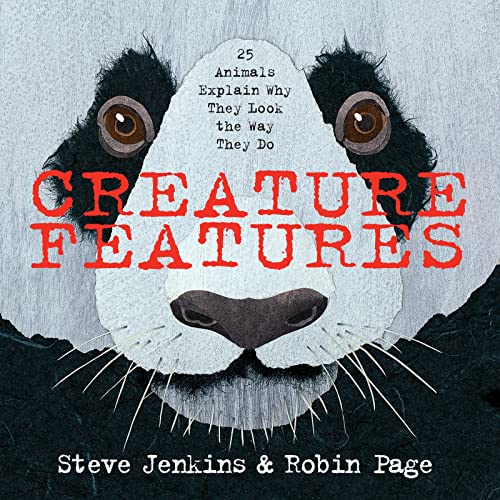
By the time we finished this animal unit study, their project included not only art techniques, but scientific questioning and research, note-taking, the writing process from start to finish and layout and design. They also stretched in areas such as perseverance, problem-solving, and hard work. All because they were enamored with the art of Steve Jenkins, prolific science author and illustrator.
Here’s how it happened.
Related: Why Unit Studies Are Ideal For Gifted Learners
The Power Of Interest-Led Learning In Our Homeschool
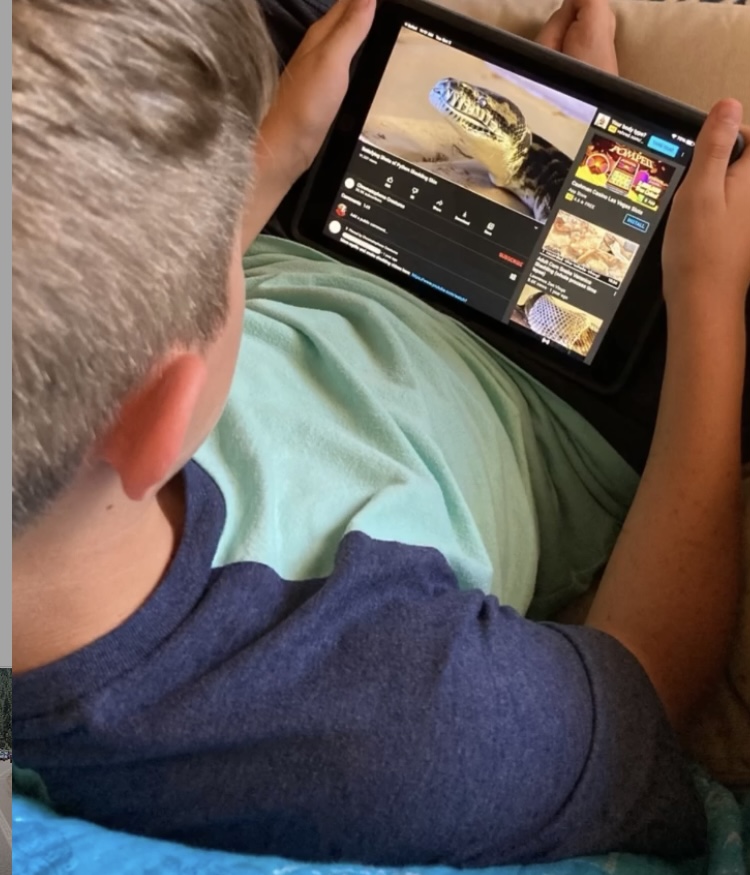
After binging on animal books by Steve Jenkins, we couldn’t get enough of him or his work. On YouTube, we watched him talk about his process and were inspired to create our own animal collage illustration. However, my boys weren’t satisfied with just creating one animal collage so an entire Steve Jenkins-inspired animal book project was born.
Creating An Animal Unit Study For Your Homeschool: A Step By Step Guide
I’m a wing-it type of mom, so we began our book project the next day with very little planning. One thing I’ve learned is when their excitement for learning is a high, run with it! It’s the power of interest-led learning. You can always think and assess later.
Now that it’s “later,” I can see how much we learned and accomplished. Here’s how we did it.
STEP 1: Start With Books
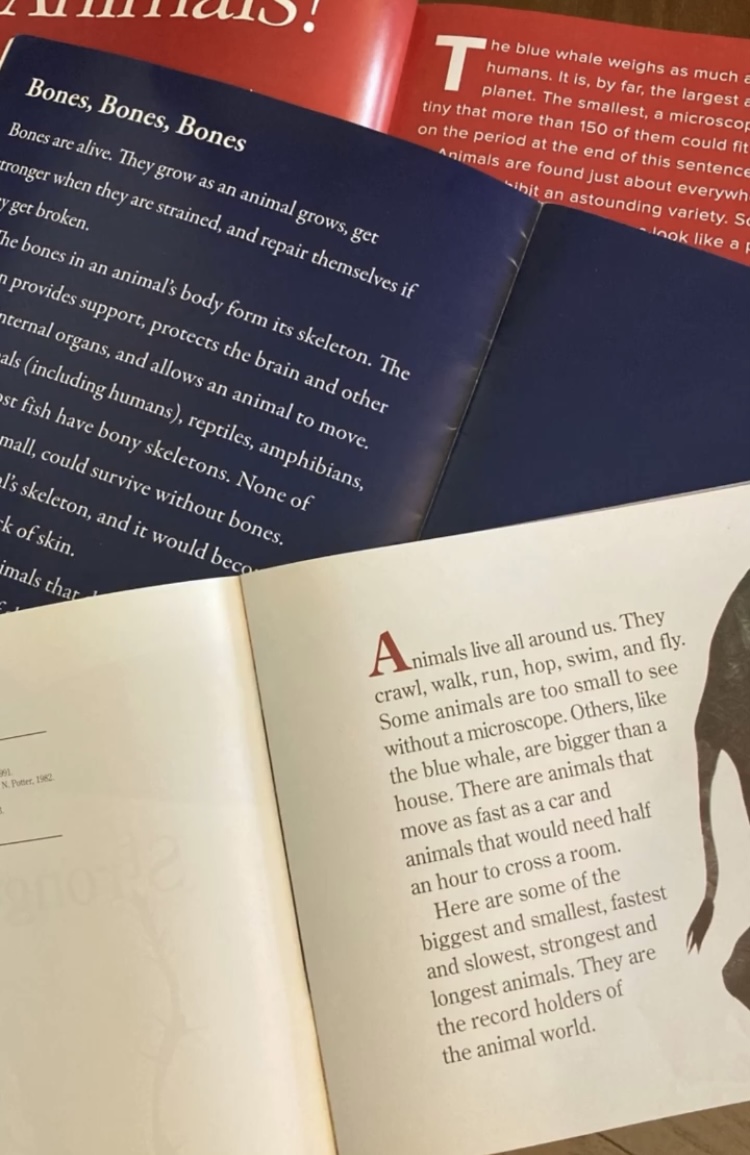
We read and reread many, and I mean A LOT, of Steve Jenkins’ books. We kept an eye out for any patterns (which is a big scientific concept on its own!) within his books. The boys noticed the titles of the books were either questions or they made exclamations of wonder and joy that beg you to open up the book and explore more. His books then answer those questions or expand on the wonder and joy. So I asked the boys what kind of questions they had about animals.
How do animals talk? Why do animals shed? Do animals use tools? When each boy had their question to research, we made a list of animals for their topic.

STEP 2: Bring In The Art
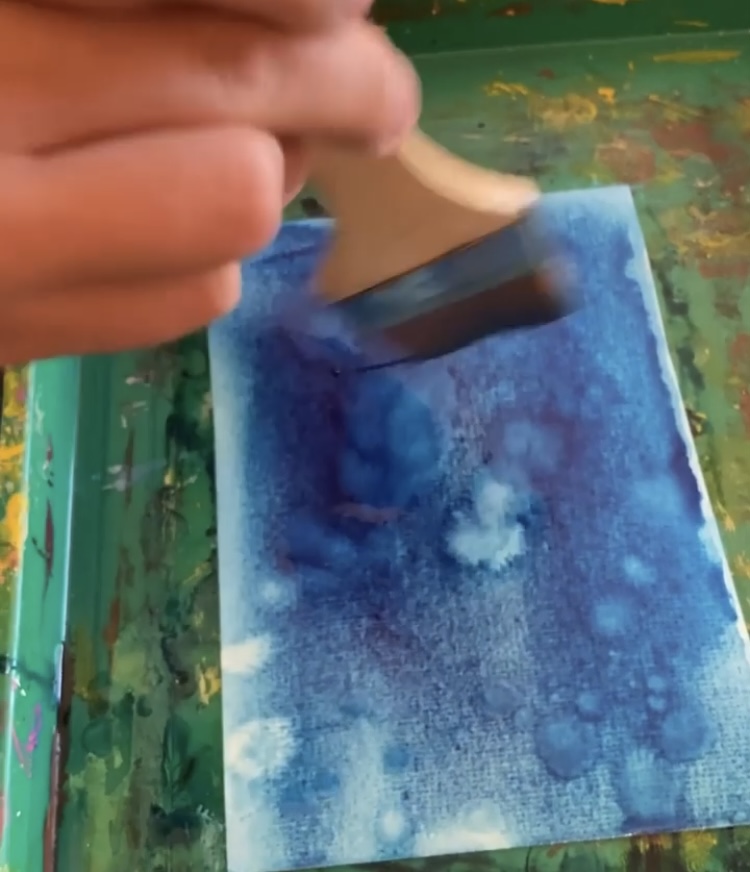
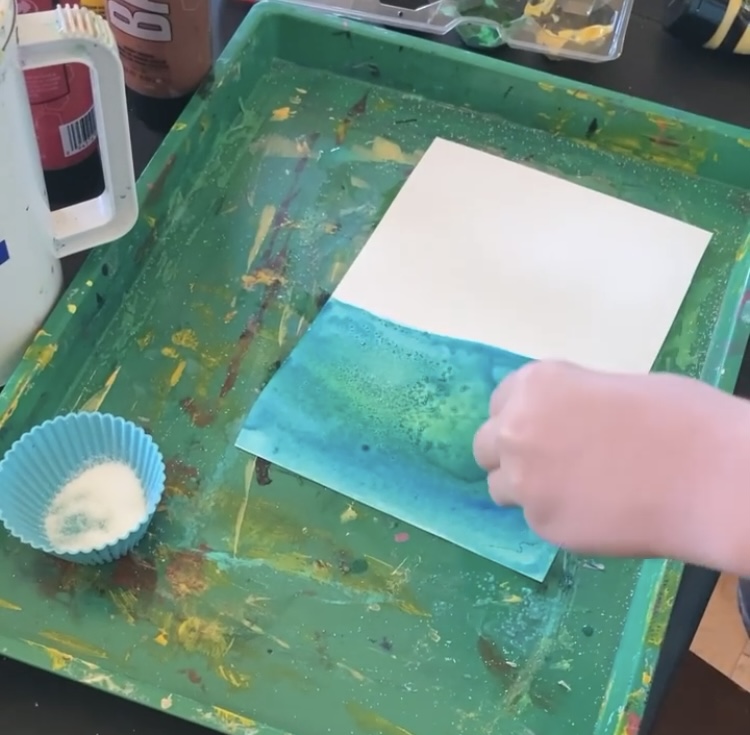
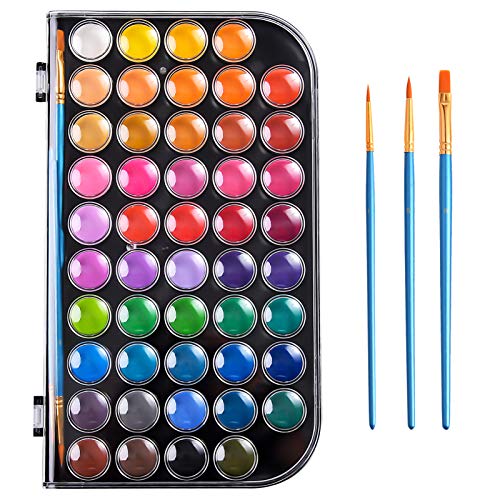
Once we had our list of animals, (and they had confirmed those animals worked for their topic) it was time to paint. And really, this was the moment they were waiting for! We discussed the different textures of animals and possible ways to create those textures on paper. I asked them to really think about and study the chosen animals and the different textures of skin, hair, scales in order to experiment with colors and color-mixing to achieve the desired effect.
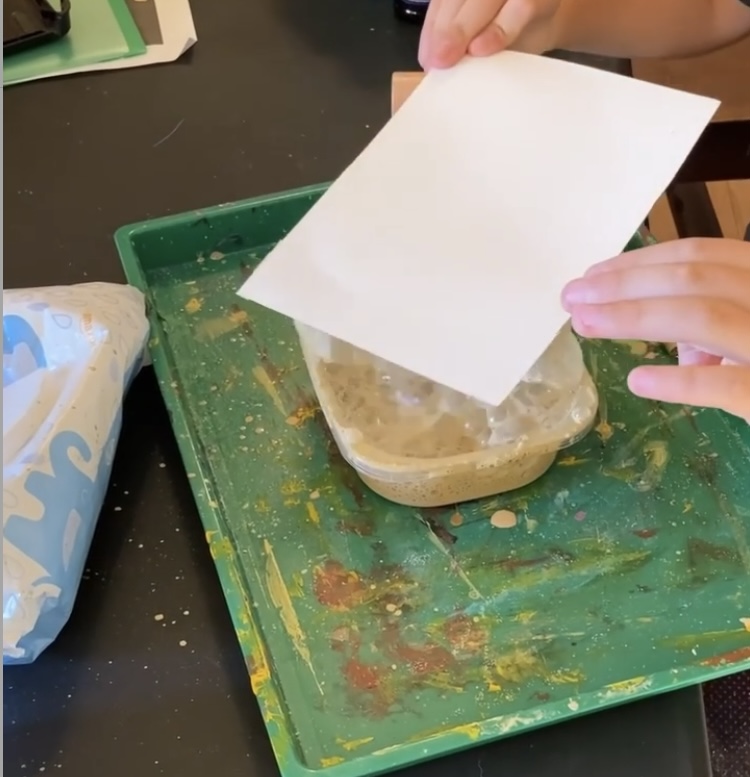
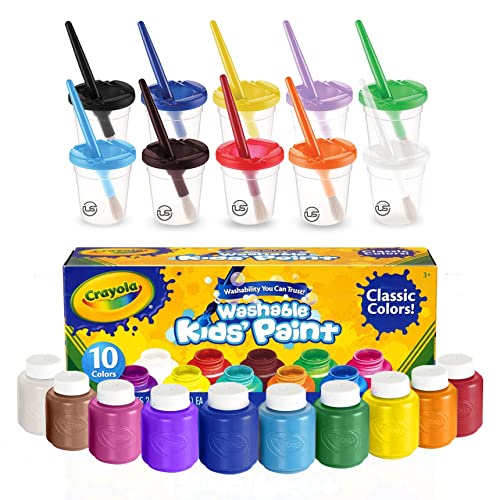
And then we gathered supplies: salt, straws, cardboard, sponges, forks, recycled packaging materials and anything else that might create an interesting texture—anything goes! I cut the paper in half so that there was less waste and it kept things more manageable. Using cafeteria trays under their paper keeps the mess less messy. They began to paint and play with the materials.
What happens if you spread watercolor on the paper and sprinkle salt on it? What about blowing bubbles into watered down paint with a drop of dish soap mixed in? What kind of pattern from the bubbles gets stamped on the paper? Try scraping some acrylic across the paper using corrugated cardboard or use a sponge to dab the paint onto the paper. We used forks and knives, experimented with regular paintbrushes, added water to thin the paint and kept the paint thick and layered. This step could take the whole day or you could spread it out over a few days. We started with the animals they absolutely knew they wanted to include. But we added more animals and painting days as needed. I found that alternating art days and research days kept the monotony and the overwhelm at bay.
I promise the mess is worth the time and effort.
STEP 3: Do More Research
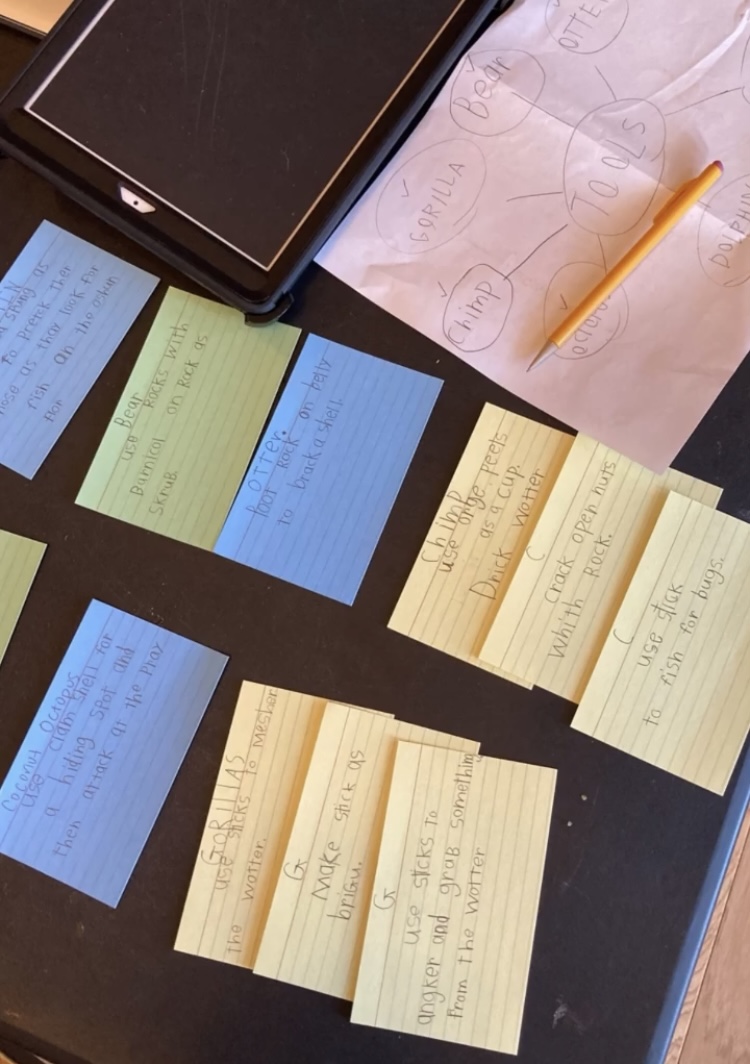
After we did our first day’s painting, we began to really get into the research aspect of the project. Which animals shed? How do they each shed and why? What are the various methods of communication for different animals? Which animals use which methods? And what qualifies as a tool? Which animals have been seen using tools for various purposes? Science begins with questions!
Our research included watching documentaries and youtube and reading encyclopedias and other various animal books. I helped my younger boys take notes (videos with subtitles is great for pausing and spelling!) on colored notecards (one animal per color). Index cards can feel less intimidating than a full blank page. I asked them to write what they could and then I’d either help finish up or we’d take a break and return to it later. There was no point in crushing their enthusiasm by trying to get it all done in one sitting. I’d much rather they be excited than finished by a certain time or day.
Each of my boys worked to their level of ability and as long as they felt they’d put in a good day’s work, I was pleased. And as so often goes, sometimes, one thing leads them down a rabbit trail and they suddenly realize new connections and new animals that can be included in their project. Which brought us back ‘round to more art days. Just keep the circle going until everyone is happy with their art and research.
STEP 4: Create A Record Of Learning (notes, collage, first draft, etc.)
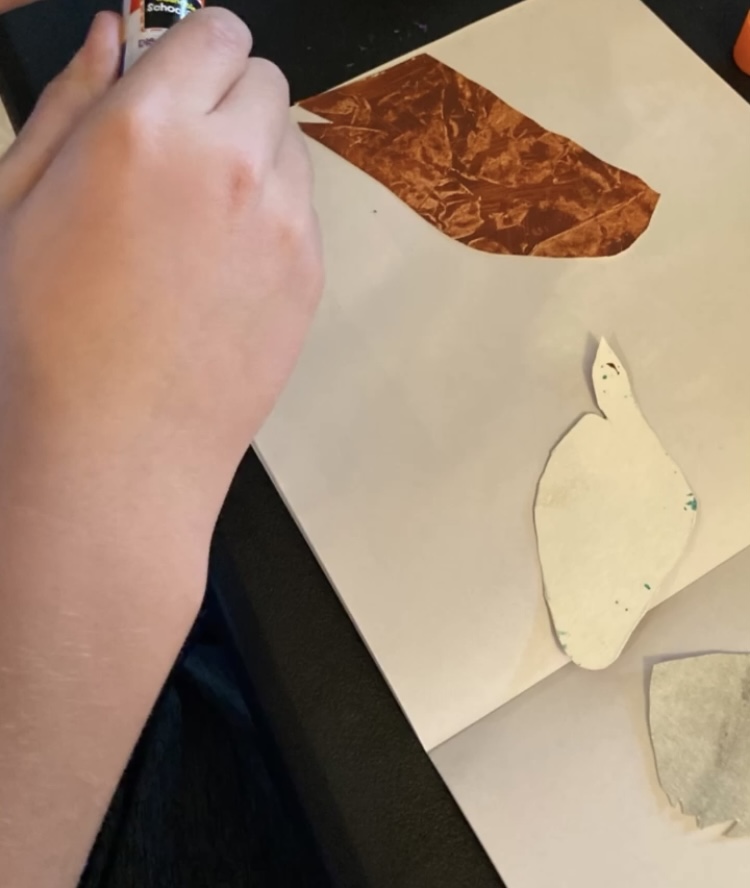
Once you’ve completed your textured paper and research, then you begin to draw your animals for the collage and write up your notes. The animals could be traced using a stencils or cutout or just free-handed. You could have the kids cut out the full animal depending on the age and ability of your child or more detailed cutouts of limbs and body parts. My boys chose to go all in to the Steve Jenkins process by drawing sections of the animals to be glued together piece by piece. We’d spend a day building one animal and then the following day, we’d work on turning our notes into a draft.
My younger boys needed individual help so I’d partner with them, ask them to tell me about the particular animal and as they explained, I’d write it down or type it up. When they’d get stuck, I’d ask questions to clarify or to help them think about what might come next. This partnering is key for reluctant writers or those with neurodifferences.
STEP 5: Edit And Revise
When all of the initial writing is done, then we turned our attention to editing and revising. I printed out a copy of each of their written essays and asked them to read it out loud to me. They’d even catch mistakes on their own or think of ways to make their ideas clearer. I included mistakes on purpose based on misspellings in their note-taking so we could discuss and correct it as we worked through it.
During this process, I focused on praising the ideas, the hard work, the effort, and the general brilliance of their project. Because editing and revising is hard and often feels like an attack, so to balance it, I praised the heck out of the content! Before you know it, they have their very own informational essay about animals!
STEP 6: Create Your Own Book!
Now to put everything in their book! We used a blank remade book from the Dollar Section at Target. Print out the essays, with each animal section separated because everything gets cut and pasted into the book. Saving the first page for an introduction (which we’ll get to in a moment,) we laid out the entire book before gluing anything into it to be sure we had space and knew where things would fit while also be visually appealing. Don’t skip this step! It sounds simple, but depending on the complexity of essay, it can actually be tough.
My oldest had a longer and more complexly organized essay so this part really did take some work. Once you have a layout you like, you can start to glue. It was at this stage, that my middle son decided he wanted to add more animals to his book, which meant going back and either finding paper we had already painted that would work for the new animals (don’t throw away your scraps!) or starting fresh. While it felt a bit annoying to have to start over, there is no way I was going to deny my reluctant neurodivergent writer a chance to research and write more! And by this time, he had built up enough confidence to do more of the research and writing on his own. Eventually everyone had everything laid out and glued in.
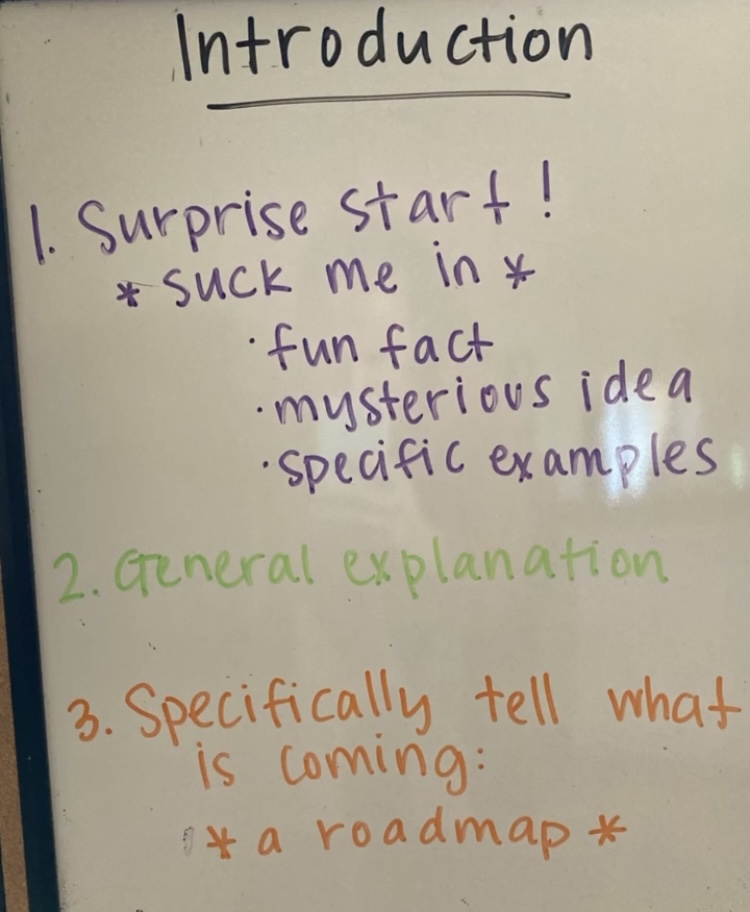
STEP 7: Write An Introduction
Now that they know they’re writers and have produced an amazing book, take a moment to admire their amazing content. And then, drop the bombshell that they need an introduction. And when they protest, show them Steve Jenkins’ books; they all have an introduction so it’s not mom’s fault (*wink*). Read a few of his introductions and discuss what makes a good intro. How does Steve capture your attention? What makes you want to read more? What’s that book about anyway? How do you know? Note how he tells you what you’ll read about in a sort of roadmap.
Have them look through their book and remember their original question that began it all. It’s ok to start anywhere in the introduction—write the roadmap first or start with an intriguing question. You can always reorganize and rework it until you like it, the important part is get writing.
STEP 8: Begin With The End In Mind
When all the writing, editing, and revising is done, glue the introduction onto that first page that you saved. All that’s left is the creating the cover and title. A question, a phrase, an alliteration — anything goes! Decide on an illustration, lay it out, print out the title in fancy font, glue it all down and voila! You have a Steve Jenkins’ inspired picture book.
But when you step back and assess, they have an informational science essay, exposure to lots of art skills, practice in the entire writing process, and some graphic design skills. This project covers so many subjects and disciplines in a way that feels fresh and fun rather than intimidating and predictable. When I remember to be flexible and go with their enthusiasm for creating art, I can usually accomplish more.
Art becomes the gateway to interdisciplinary learning. It’s why I love including art to create unit studies in our homeschool.
Resources For Creating Your Own Animal Unit Study


Special thanks to Lydia for sharing her brilliant ideas and creativity with us. Her children are so lucky to learn from her each day!