Milk Plastic Robots: Science for Kids
Did you know there is more than one way to make plastic? One fun way to make plastic uses just two ingredients: milk and vinegar. When vinegar is added to milk, curds are formed, which creates polymer chains in the casein proteins in milk. When this hardens, it looks and feels just like plastic! Kids will be fascinated by what they can make using just milk and milk plastic.
Milk Plastic Robots: Science for Kids
Have leftover milk that’s about to go bad? Transform into plastic for science! You’ll need a few things:
- Milk
- Vinegar
- Food coloring (we used red)
- Paper towels
- Small plate
- Robot accessories (if you want to make a robot)
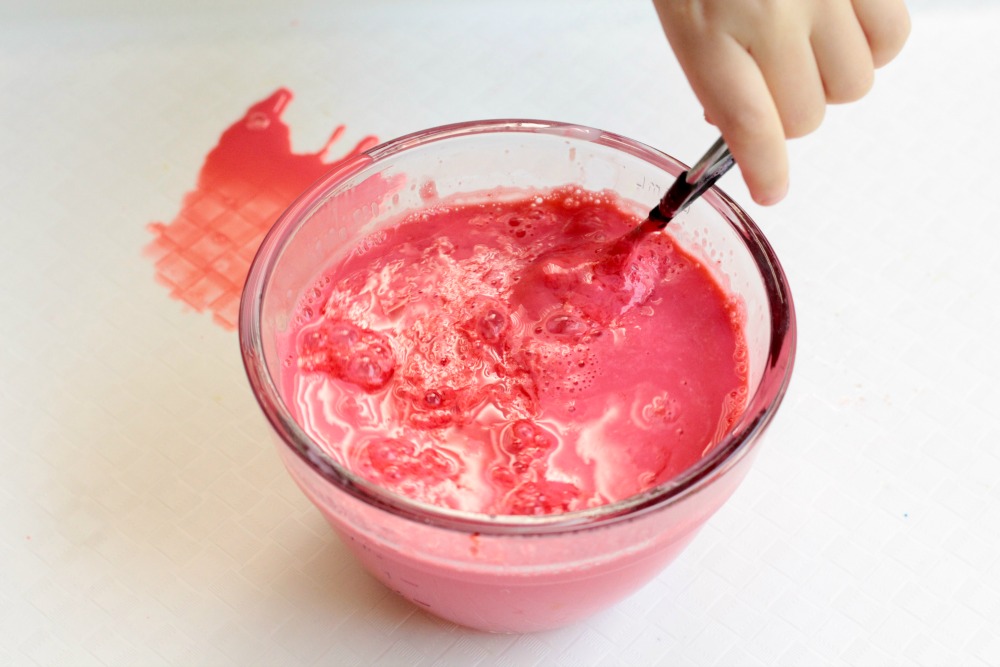
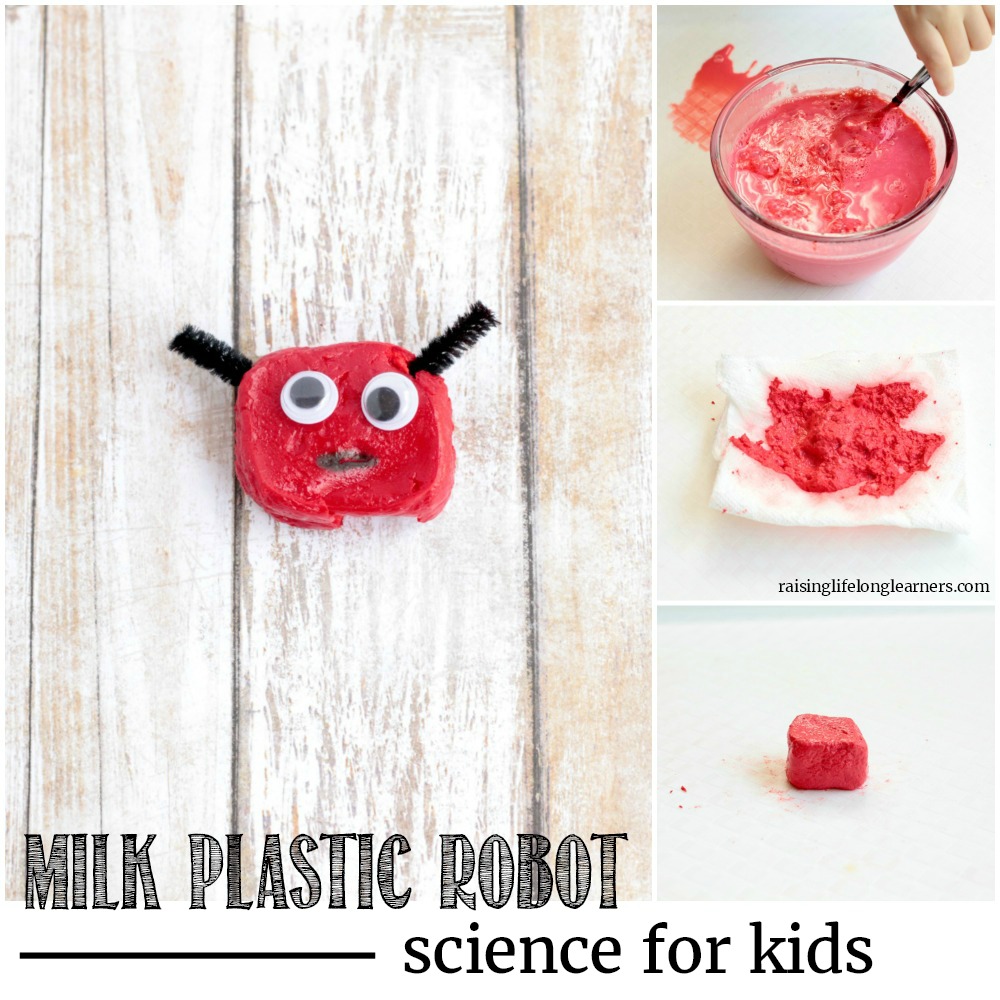
Pour one cup of milk into a bowl. If you want to color it, add the dye now.
Add two tablespoons of vinegar. Within seconds, the milk will curdle.
Remove the curds and place them on a paper towel.
Gently squeeze out as much water as you can. Don’t squeeze too hard or the paper towel will explode.
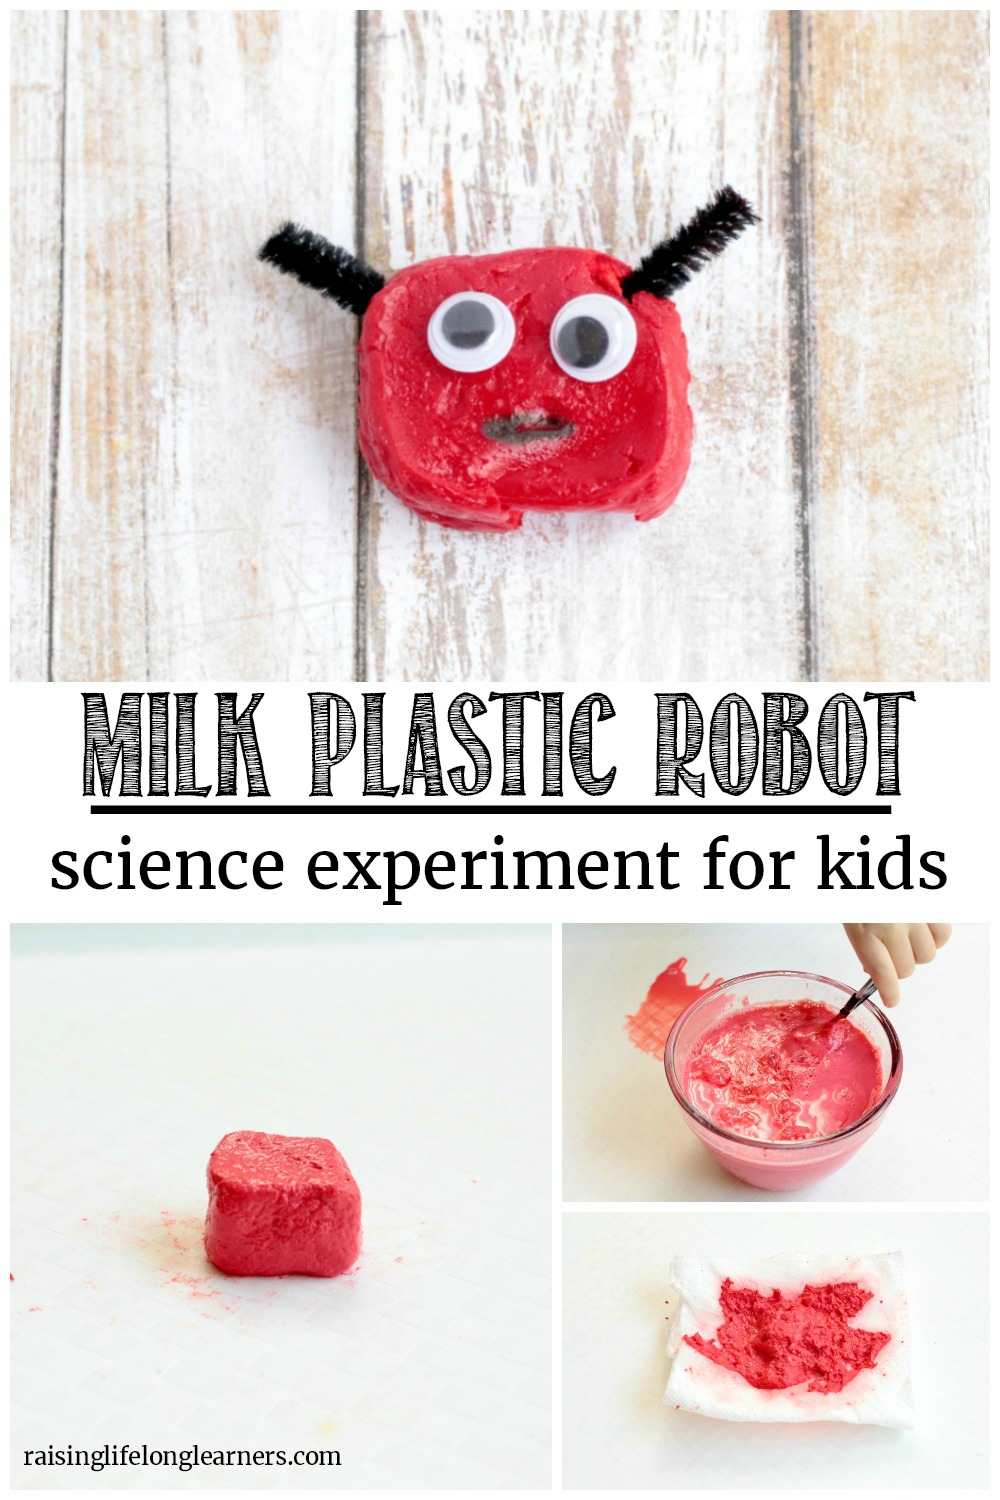
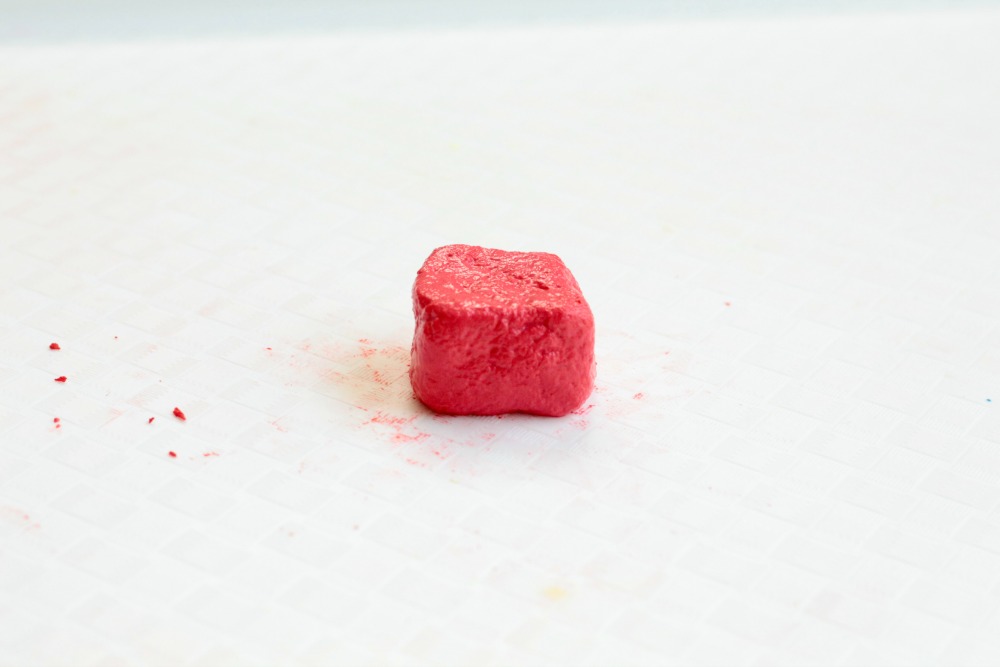
Once the liquid is removed, shape the plastic into any shape you like. We did a square to make a robot.
Let the plastic dry out for 48 hours.
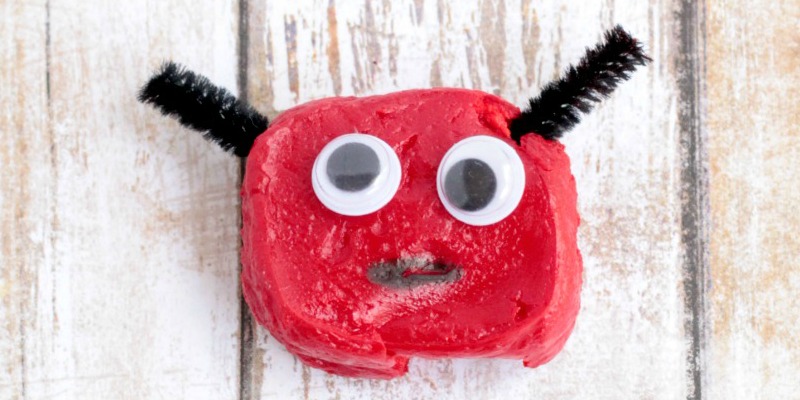
Add robot accessories. We gave our robot googly eyes, pipe cleaner antennas, and drew on a mouth with a permanent marker.
Isn’t science the coolest?
Milk Plastic Science Experiment Explained
Milk contains a protein called casein. This protein has polymer chains that can be molded and collected. When vinegar is added to milk, the casein protein molecules move from monomers to polymer chains, which forms it into a solid with properties similar to glue slime. However, when the mixture dries, it hardens, leaving a material that looks and feels like plastic. If you don’t want to mold the plastic, you can also use cookie cutters to make shapes instead.
