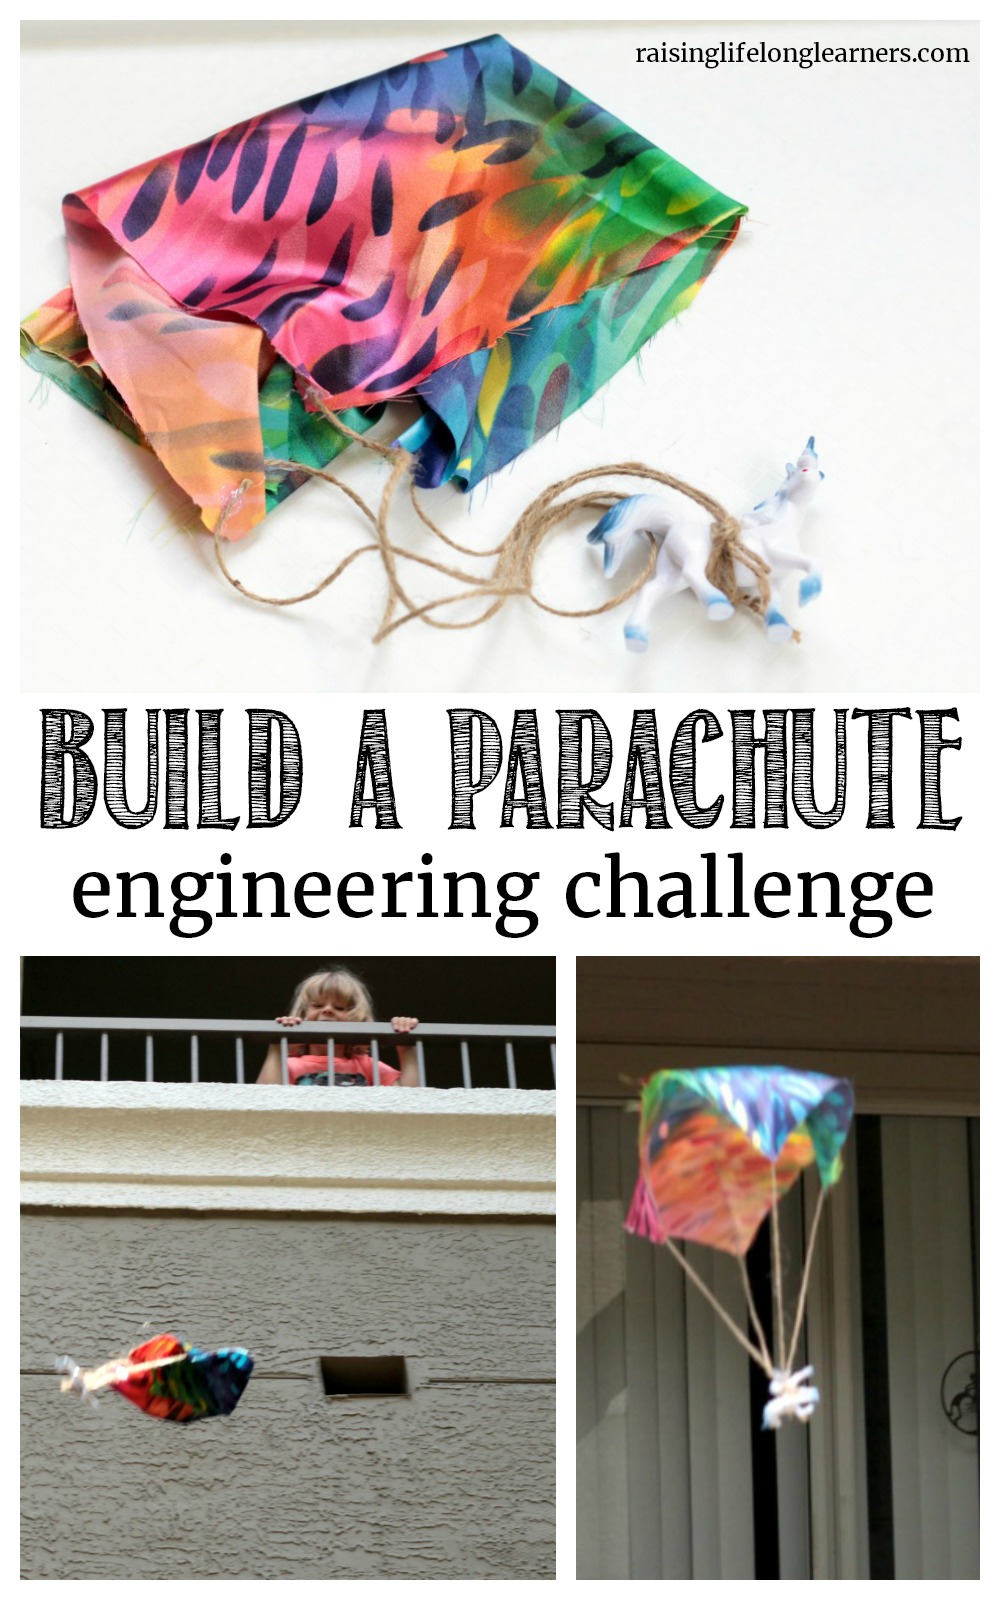
Parachute Engineering Challenge
Teaching physics can involve a lot of math, but there are fun ways to teach it as well. The parachute engineering challenge combines the study of physics with engineering in a fun STEM project that kids of all ages will enjoy. The older the children, the more you can talk about the math involved. However, as making a parachute can be simple, this is a wonderful project to do in groups of multiple ages.
How to Set Up the Parachute Engineering Challenge
With just a few supplies, kids can learn about the science of falling and how to slow falls with the parachute engineering challenge.

You’ll need just a few things for this project:
- Cloth, paper, and plastic bags
- String
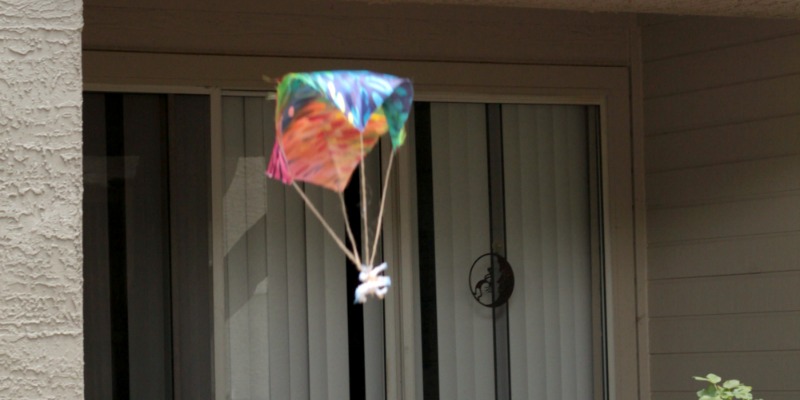
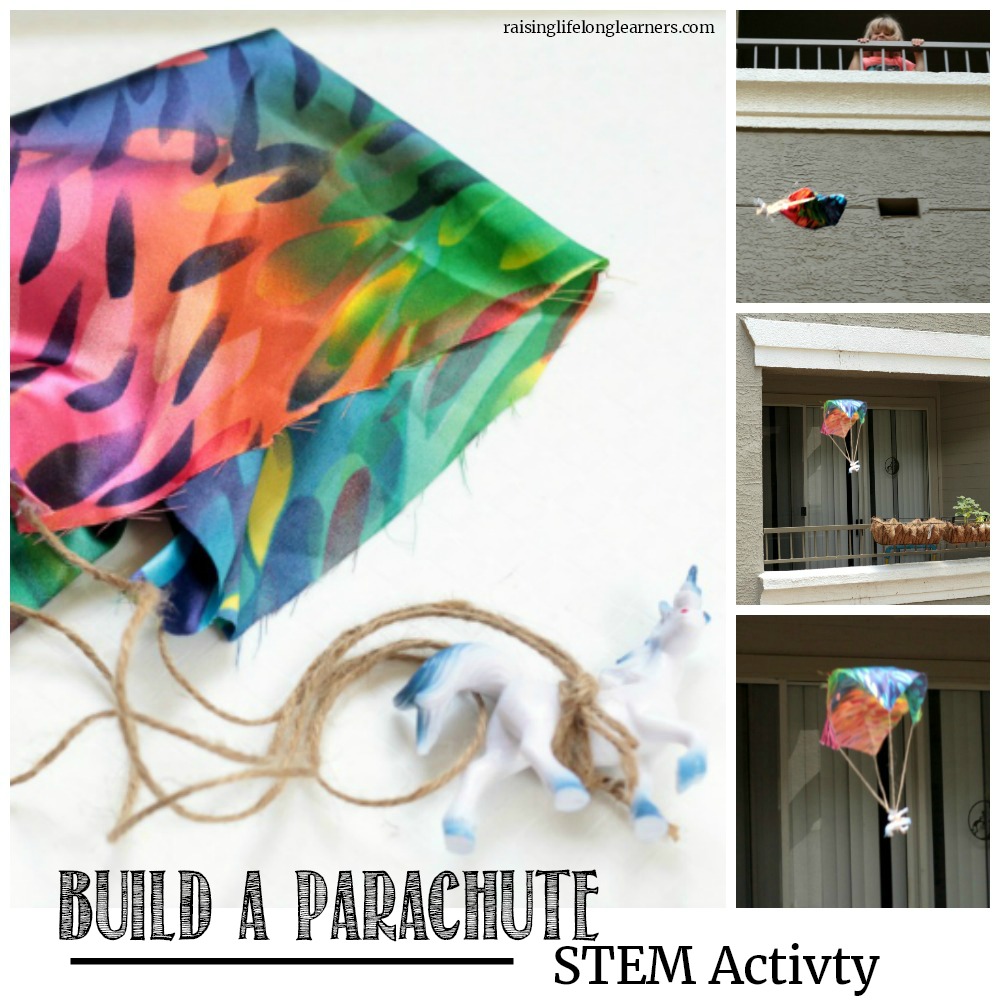
- A small object (we used a unicorn figurine)
- Scissors
- Hot glue gun and glue sticks
Before starting the experiment, talk a little bit about how real parachutes work and why they work (see below for explanation). Next, instruct your kids to build and design their own parachutes.
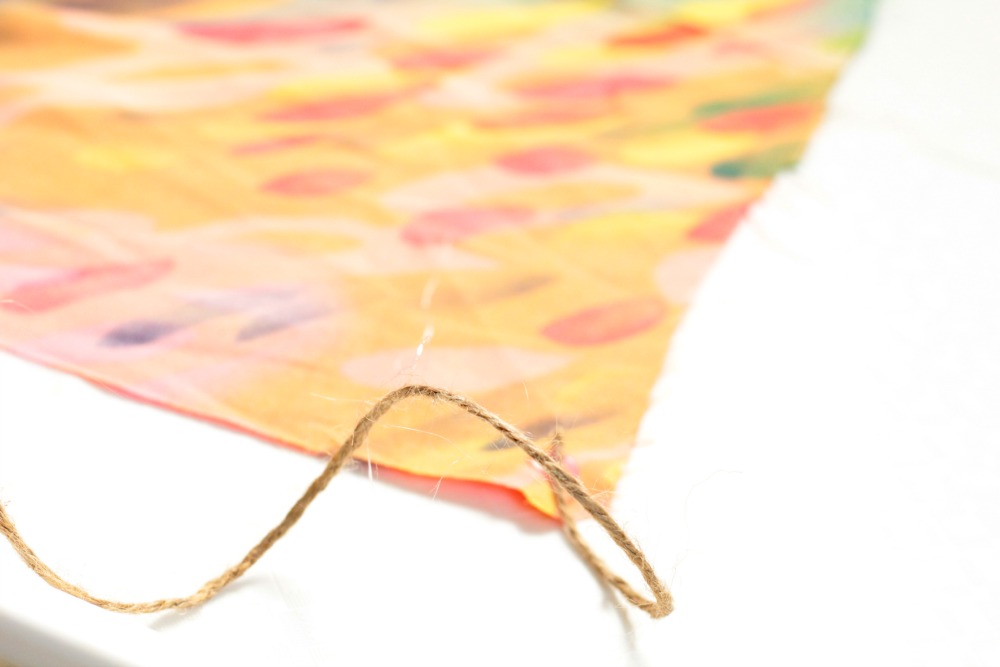
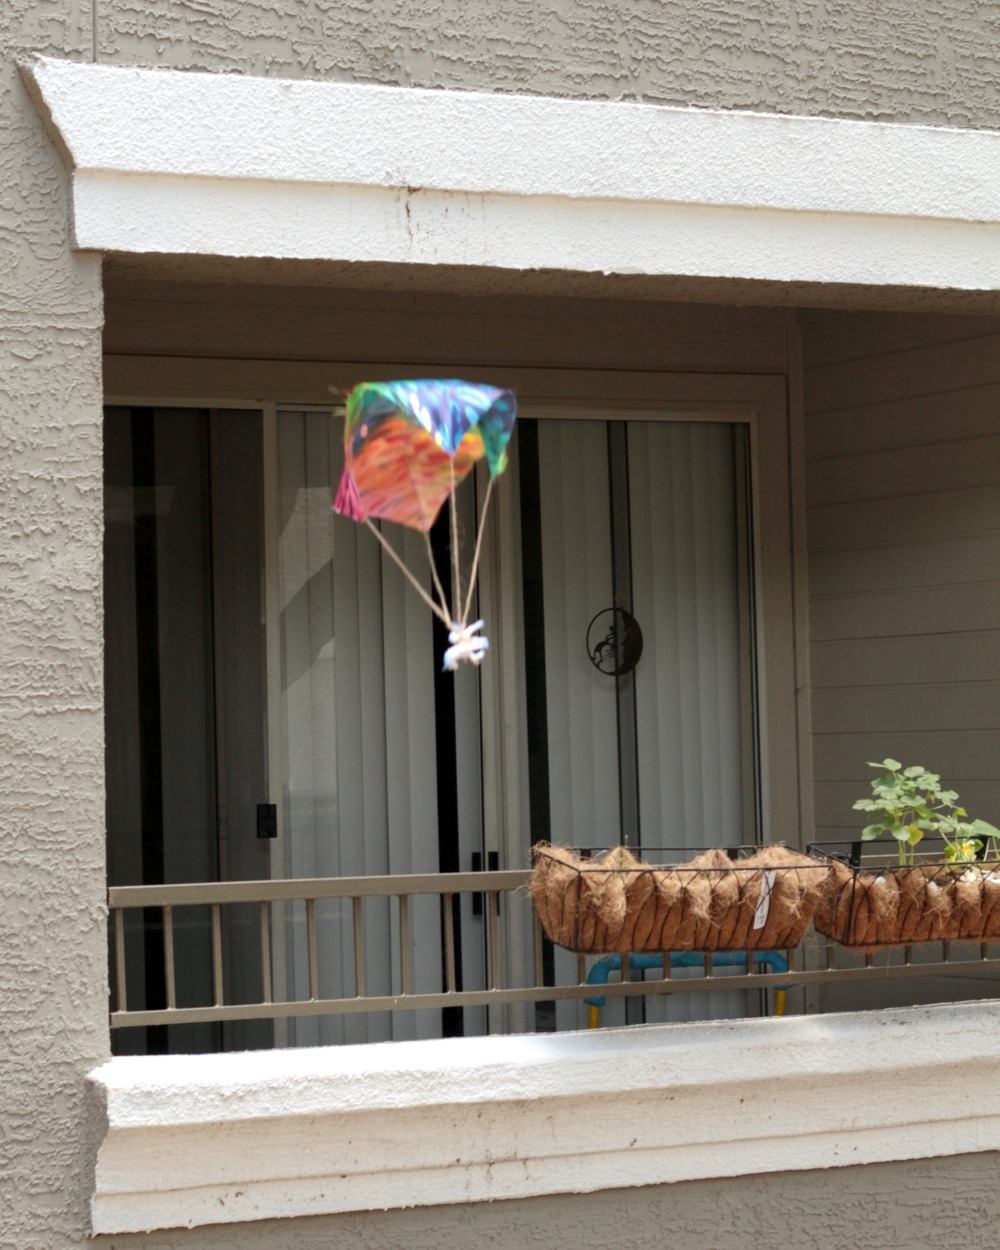
Let the kids build their parachutes from scratch. We found that using hot glue helped the process go faster.

After the parachute designs are completed, tie the parachute to your object of choice.
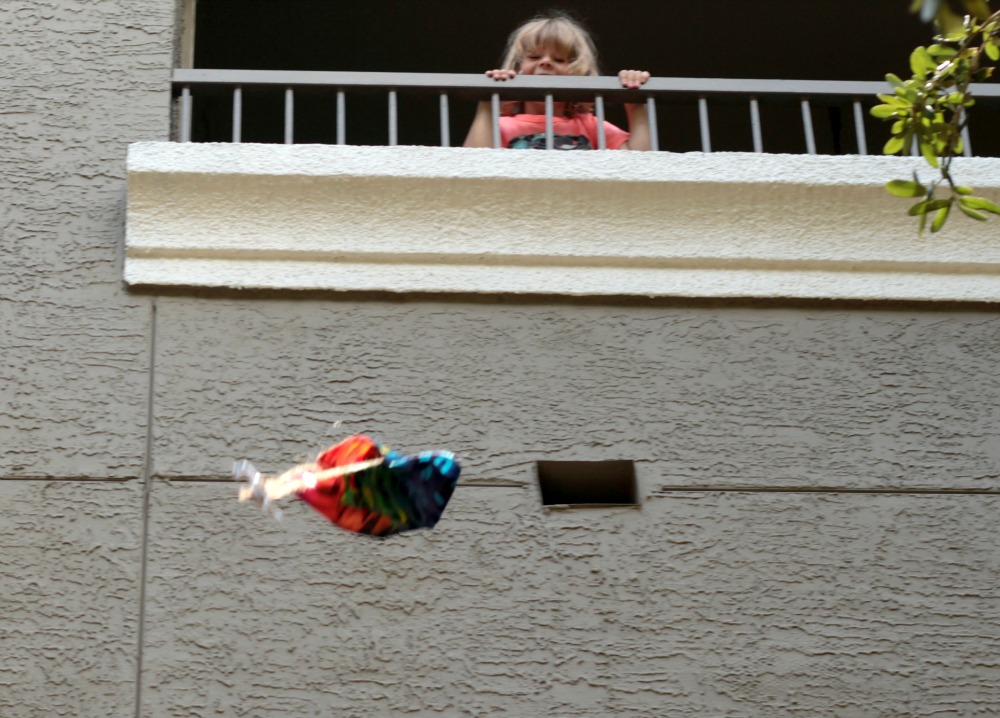
Toss the parachute off a high location (we found a tall balcony) and watch the parachute to see if it worked. Does the object drift gently down or sink like a rock? What variables will make a parachute better or worse?
Science Explained
Parachutes work because of something called air resistance. This has to do with the fact that air does actually have mass, even though we can’t see it. The more of the air’s mass that the parachute can “catch” the slower it will fall. This increases air resistance and makes the parachute fall more slowly. Without air resistance, a feather would fall as quickly as a bowling ball when dropped.
What other air physics activities can you think to try? Share your ideas with us!