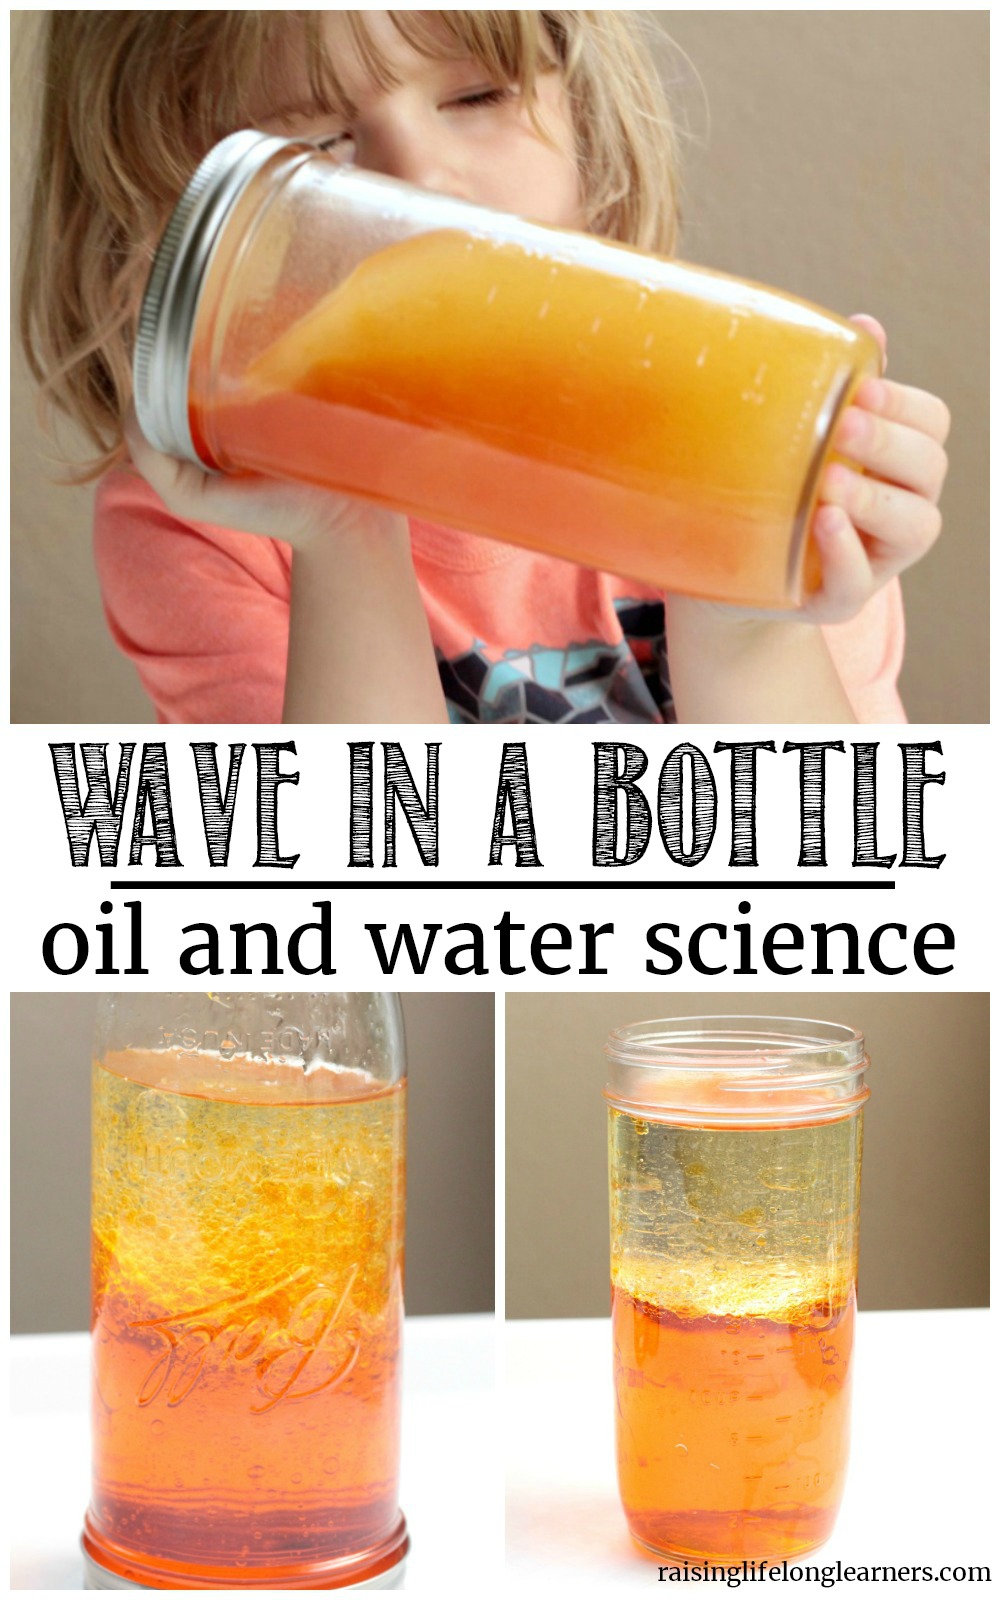
Oil and Water Wave Bottle Science
Kids are fascinated by movement and color. Combine these two loves in this simple science experiment, perfect for preschoolers! In this experiment, kids will learn about how water and oil molecules have different properties and what happens when you try to mix them in a wave bottle.
How to Make an Oil and Water Wave Bottle
The wave bottle works because instead of the oil and water mixing when the bottle is shaken, the oil and water shift around each other, creating a cool wave effect. Preschoolers (and older kids, too!) will love watching the wave crash, mix and separate.

You’ll need just a few things for this project:
- Oil
- Food coloring
- Water
- Mason jar or other tall container
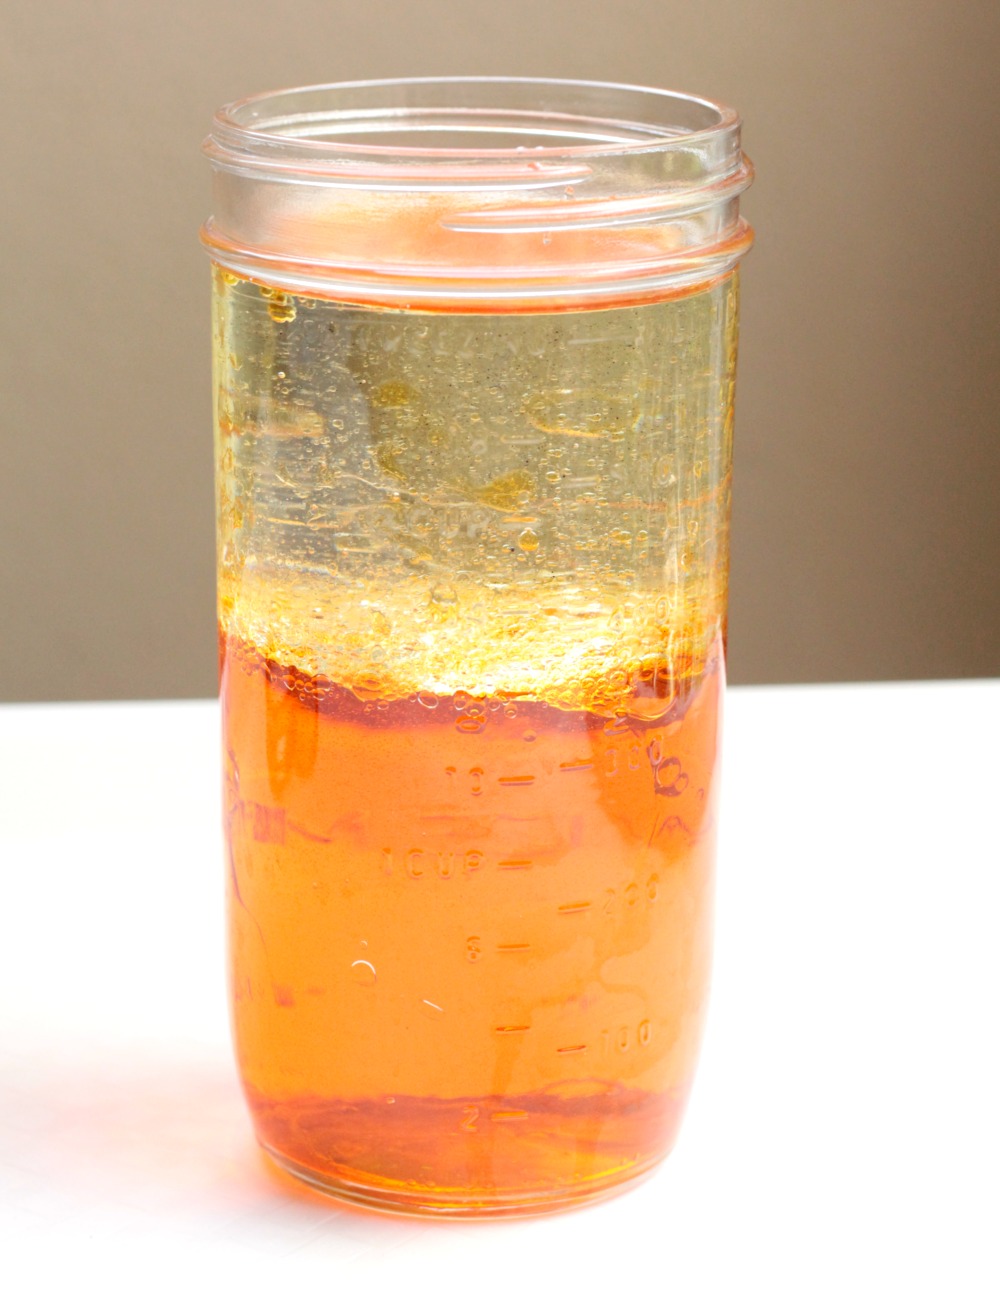
First, fill the jar half filled with water. Add your dye of choice. We used orange because it reminded us of the fall days coming up, but you can use any color you like.
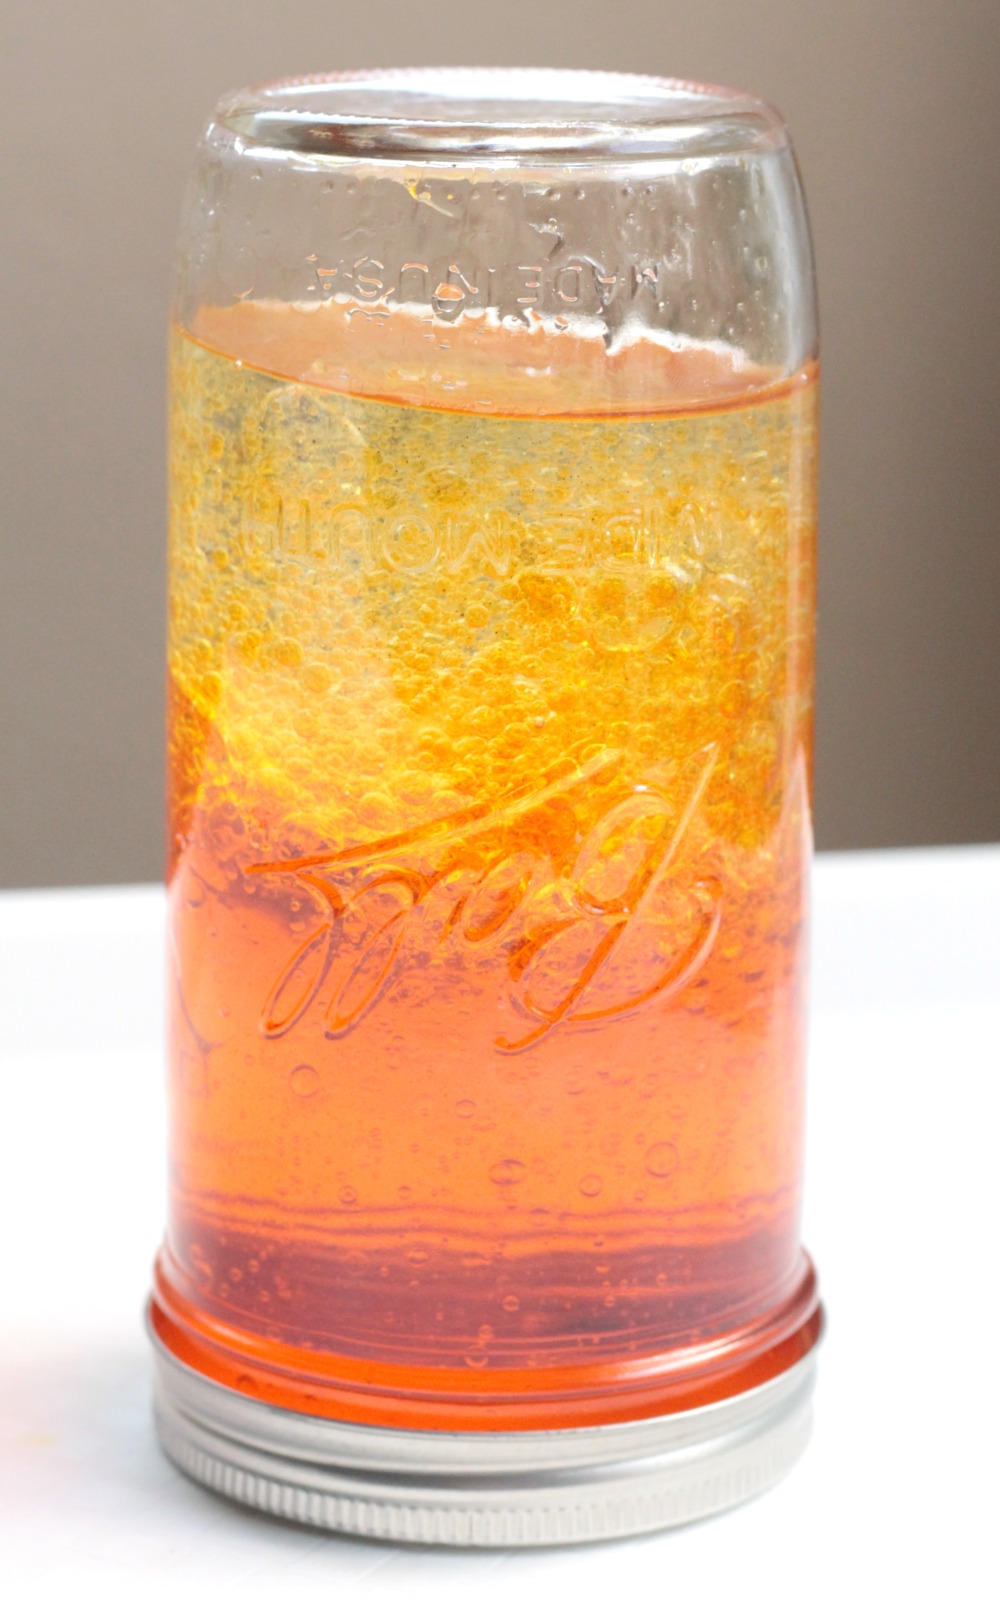
Fill the rest of the bottle with oil.
Screw the jar lid on tightly.

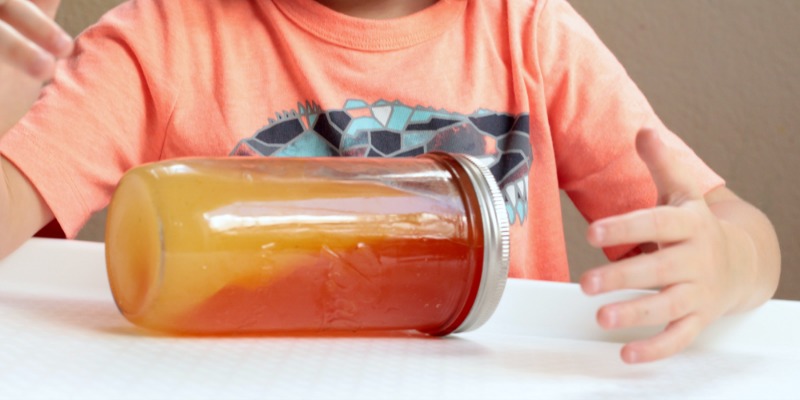
Gently swish the bottle from side to side to make the wave. The more you shake up the bottle, the more the oil and water will try to mix, which makes less of a wave and more of a boiling effect. However, once the colors separate again, the wave effect will return.

Talk to your kids about why oil and water won’t mix while you’re sloshing up the wave bottle.
Oil and Water Wave Bottle Science Explained
Oil and water don’t mix due to the differing densities of oil and water particles. Water is more dense than oil, which means water molecules will always sink below oil. Additionally, water molecules are more attracted to other water molecules than oil molecules, which further prevents the two materials from mixing. Is there anything you can think of that you could add to an oil and water mixture to cause them to mix? Think about how salad dressings have certain additives that prevent the oil and water from separating.

What other oil and water activities can you think to try? Share your ideas with us!